Profile Setup
Add your practice letterhead and practitioner details to personalise the Eyeli app and your patient reports.
Eyeli has two separate profiles: the Practice Profile (your practice letterhead, address, and contact details) and Your Profile (the practitioner conducting the tests, including their signature).
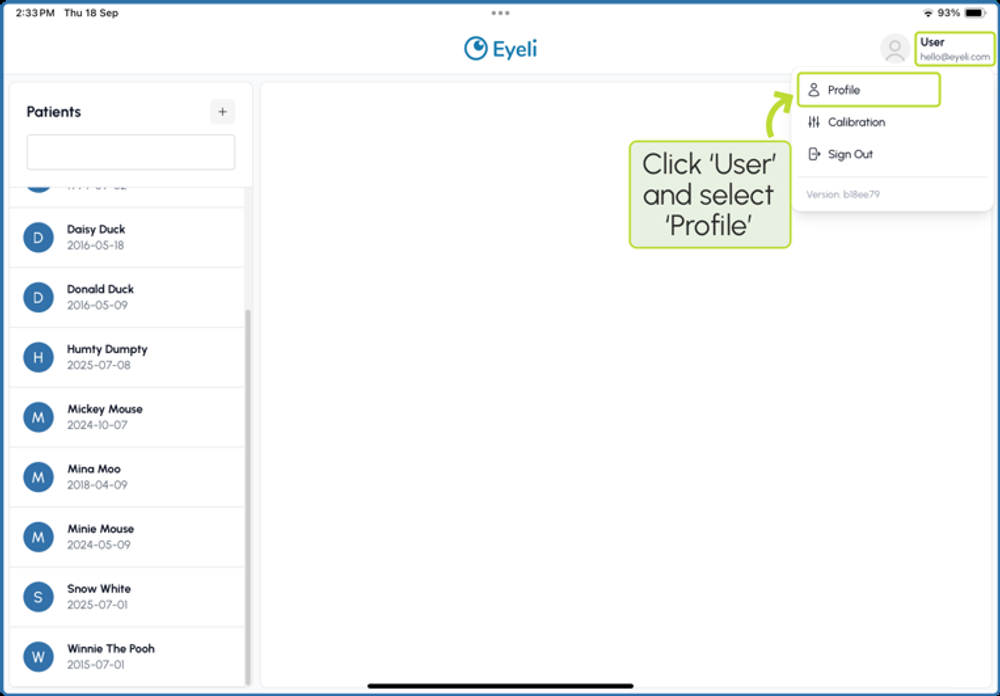
Practice profile setup
- Click the User icon and select Profile.
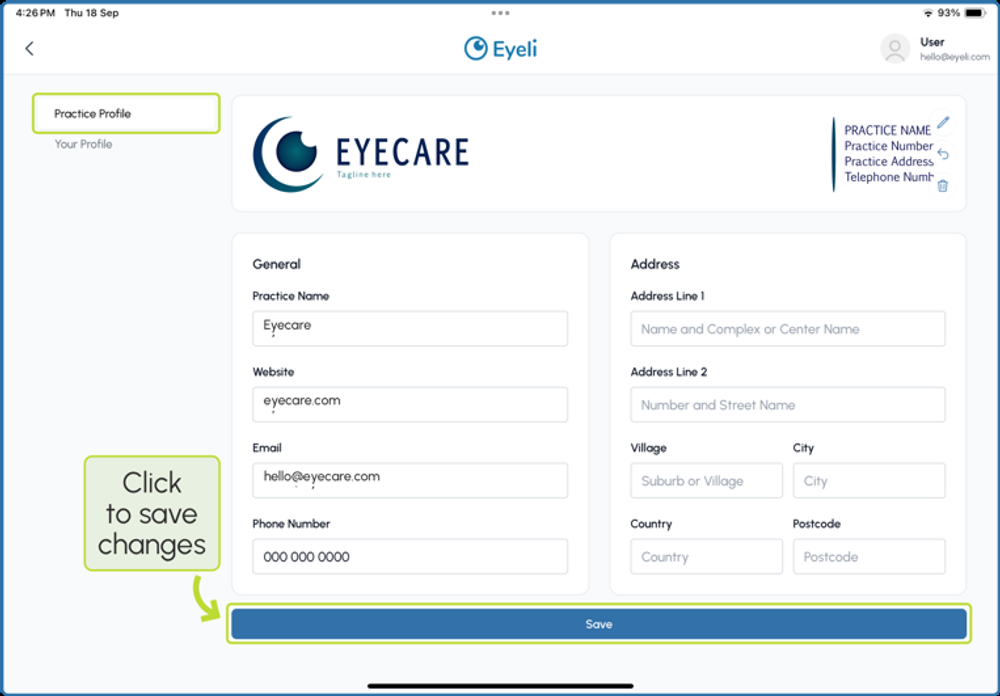
- Select Practice Profile and complete the form with your practice name, address, and contact details.
- Click Save to save your changes.
Uploading your letterhead
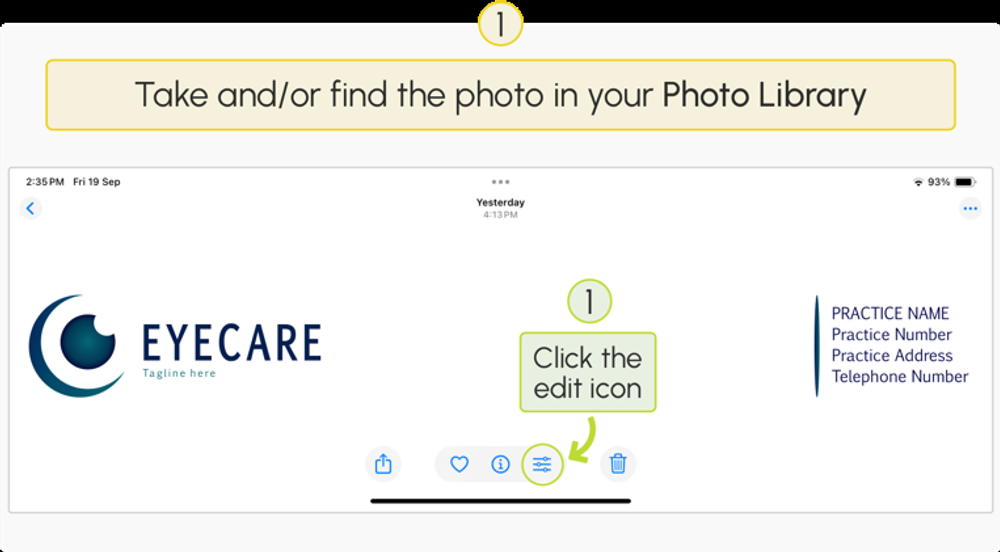
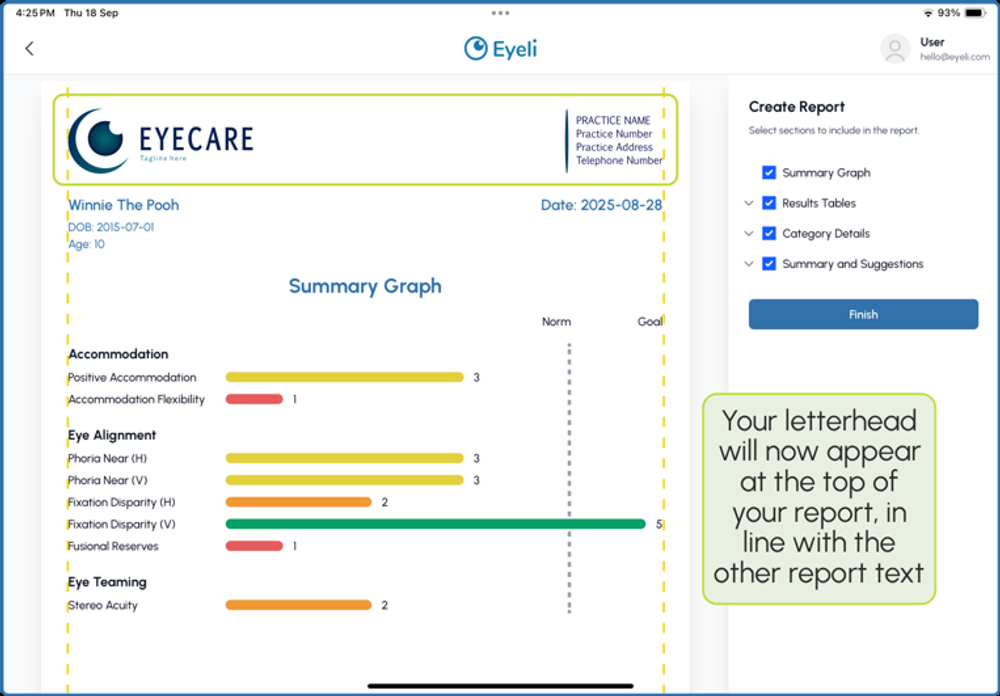
Click the edit icon next to your letterhead to upload a cropped image of your practice letterhead.
The easiest way to insert your practice letterhead is to upload a picture that has already been cropped. Find the picture in your Photo Library, crop the sides to ensure alignment with the report text, then use that photo when uploading the letterhead into Eyeli.
Practitioner profile setup
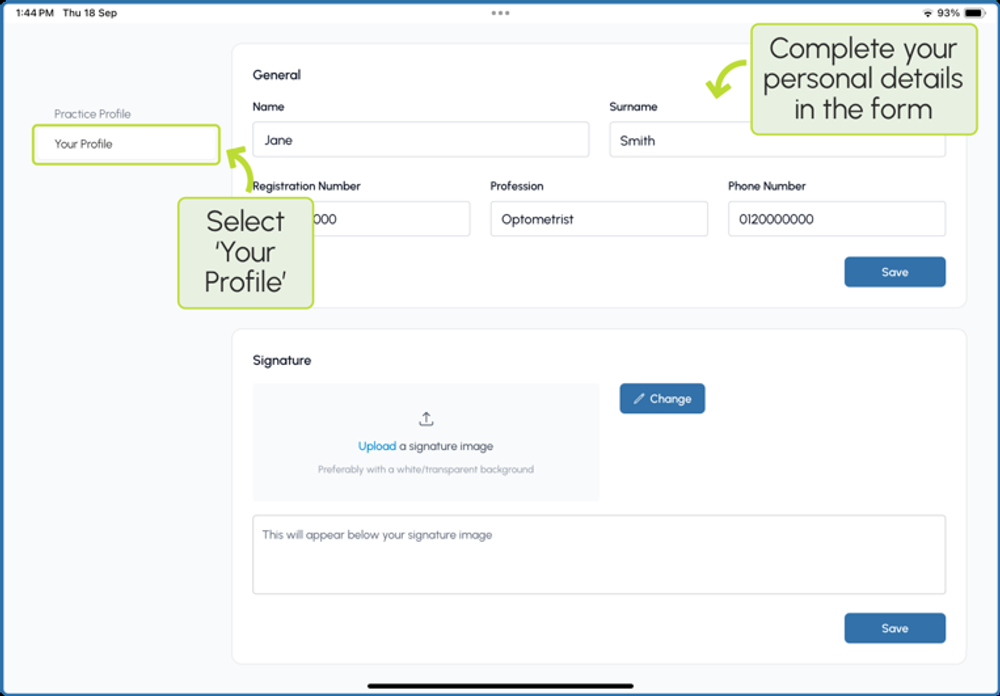
This is the profile of the eye care professional conducting the tests, including their signature, name, and credentials.
- Click the User icon and select Profile.
- Select Your Profile and complete your personal details - name, registration number, profession, and phone number.
- Upload a signature image, preferably with a white or transparent background, and save.